
airframe - tools

Tooling up

Gathering up the tools to build your model helicopter begins with metric Allen and nut drivers. Here we review the contents of an experienced builder's tool box.
| John Beech | Airframe
Overview of the tools required to assemble amodel helicopter
- Maybe not everything you'll need, but close

Prepping to build a model? You'll need a few tools. In order of importance are Allen drivers, hemostats, nut drivers, screwdrivers, and more! Adding tools to your build box is both fun and a time honored pastime. 

Tools for shop and field

Tool-wise you'll need the usual, like Allen drivers in 2, 2.5, 3, and 4mm. You'll also want both 5.5mm and 2mm nut driver. And if you're an anal sort, then add an AUD0091, dial indicator and AUD0082, electronic calipers to your tool set quiver because they're inexpensive and you'll subsequently find many uses for both, trust me.

I also find good use for a light machine oil like 3-in-one (for example on the tail pitch slider or at the center of the swashplate where it slides over the main shaft). Some swear by Teflon lube, instead but like opting for red grease vs synthetic, it doesn't really matter. The grease, of course, is used for lubing head dampers and when assembling bearing stacks.

Note; please do not buy white lithium grease because it cakes when it dries up . . . bad juju!

A diverse range of hand tools used for building and maintaining RC model helicopters
- A diverse range of hand tools used for building model helis
Anyway, the eagle-eyed amongst you may have noticed two of some Allen drivers, e.g. two M4 drivers. Basically, I'm using two at the same time on feathering spindles. You know, for countering each other when loosening bolts on each end of the shaft. I do this when I don't have a Shaftwrench on hand. Speaking of which, if you don't own one, these are a very handy tool, also!
 
Other tools you'll find handy to have on hand include an X-Acto with #11 blade, a fine file, even a AUD0071, magnetic dish for holding nuts and bolts. Odds and ends that make the list include a magnetizing block because a few passes will temporarily add magnetic properties to a screwdriver (or the reverse, remove it). An AUD0070 angle cube is also handy.
 
Speaking of screwdrivers, I like the Wiha-brand small Phillips (PH00), which is handy for assembling ball links. Ditto their small common (3.0x50), which is perfect for adjusting the carb's idle mixture. Then there are things like small curved jaw pliers for gripping round-ish things, plus AUD0085, ball link pliers like these, below.
Photo of green handle ball link pliers with a inset close up of the working end of the tool
- Ball link pliers are indispensable when building

By the way, you may notice Wite-Out, a small container of liquid dish soap (used for lubing where the four rubber grommets of the canopy, mate up to the aluminum alloy mounting posts), plus a bottle of red nail polish. No, your eyes don't deceive you, nail polish! Here's why.

Witness mark


When you take apart a mechanism like an engine or gearbox, witness marks often indicate something wrong. Think spun bearing, which has scored a shaft. However, a dab of paint makes for a dandy witness mark . . . but one added intentionally!

Where? On critical fasteners because when they come loose, the paint cracks or flakes off entirely. Me? I always think of the Jesus bolt as a fastener I especially don't want coming loose, but it's on you and your Spidey-sense to determine at which fasteners to do this nail polish trick because the 'where' may vary depending on the model.

Close up of a Jesus Bolt with a dab or red nail polish to serve as a witness mark if it begins to come loose
- A small dab of red nail polish serves as a witness mark

Bottom line, nail polish is an arrow in my quiver of tips and tricks, which I deploy to help keep my models flying safely. Why am I banging on about this? It's because just as I'm responsible when I fly my models, you will be the responsible party when you fly your model helicopter.

I mention this because most folks only think of damage to their toy due to crashing, but slamming a model through a windshield in the parking lot (perhaps where your pal's wife is crocheting a blanket) isn't beyond imagination. Unfortunately, bad things may happen to mechanical things whilst flying models and while so far the emphasis is on the fun of remote control model helicopters, the fun and games goes out the window the instant someone's been hurt. So because that's very bad juju, then you really don't want to be sloppy in your approach to safety, believe me!

Bottom line? Nail polish is a bit of belt and suspenders. The belt is using a super reliable nylon-locking nut, the paint represents the suspenders because noticing it's flaked off during the preflight is part of helping me find an issue with this connection (nut and bolt) before disaster happens.

Point being, while I find checking the painted witness mark represents a trivial cost to my time, everybody exercises their own judgement on these things. Me? I hope you consider adopting its use, also.

Wite-Out

Next, another example of applying a witness mark sees me using a Wite-Out pen. I find it handy for making a dot on one of the main rotor blade grips. Since these are black engineering polymer, the white stands out.
 
What for? It's how I designate a master grip (and no, it doesn't matter which grip, just pick one). 
 
Close up of a Pantera P6 main rotor blade grip with a dab of WiteOut serving to mark the master blade
- Use a dab of Wite-Out to designate a master grip

So the sole purpose of the white dot on the grip is making it easier for me to keep track of which blade is which whilst adjusting tracking (no pun intended). Oh, and I also add a corresponding dot to the root of the rotor blade itself. This, so when I remove the blades, I always present the same blade back into the master grip.

Note; with this technique, I'm just trying to reduce variables, which may be introduced to my model by other components.

By the way, there are many uses for Wite-Out pens. I mark the tail rotor grip in the same way, and also use it to make marking on the DuPont connectors on the servos. This, because they're also black so in this example, one dot for channel-1, two dots for channel-2, etc.

Close up of 2-dots of Wite-Out designating channel 2 on DuPont connector
- More Wite-Out, 2-dots on the DuPont means channel 2
Bottom line? Use nail polish and Wite-Out as tools in your quiver to pull out when it sorts a problem. I'm figuring you'll remember to make use of these tips (if you aren't already) simply because I'm betting you're of the 'type'.
 
By type meaning the sort who is mentally active, curious, intelligent . . . else the complexity of model helicopters never appeals to you in the first place! After all, boats, cars, and trucks operate in a 2D world, model airplanes in 3D, but adding the collective pitch vector makes the helicopter's 3D world more complex, still. Moreover, the speccing of components, assembly, and subsequent tuning of a heli requires more of your skillset than the simpler models.
 

When Hardhead is a compliment
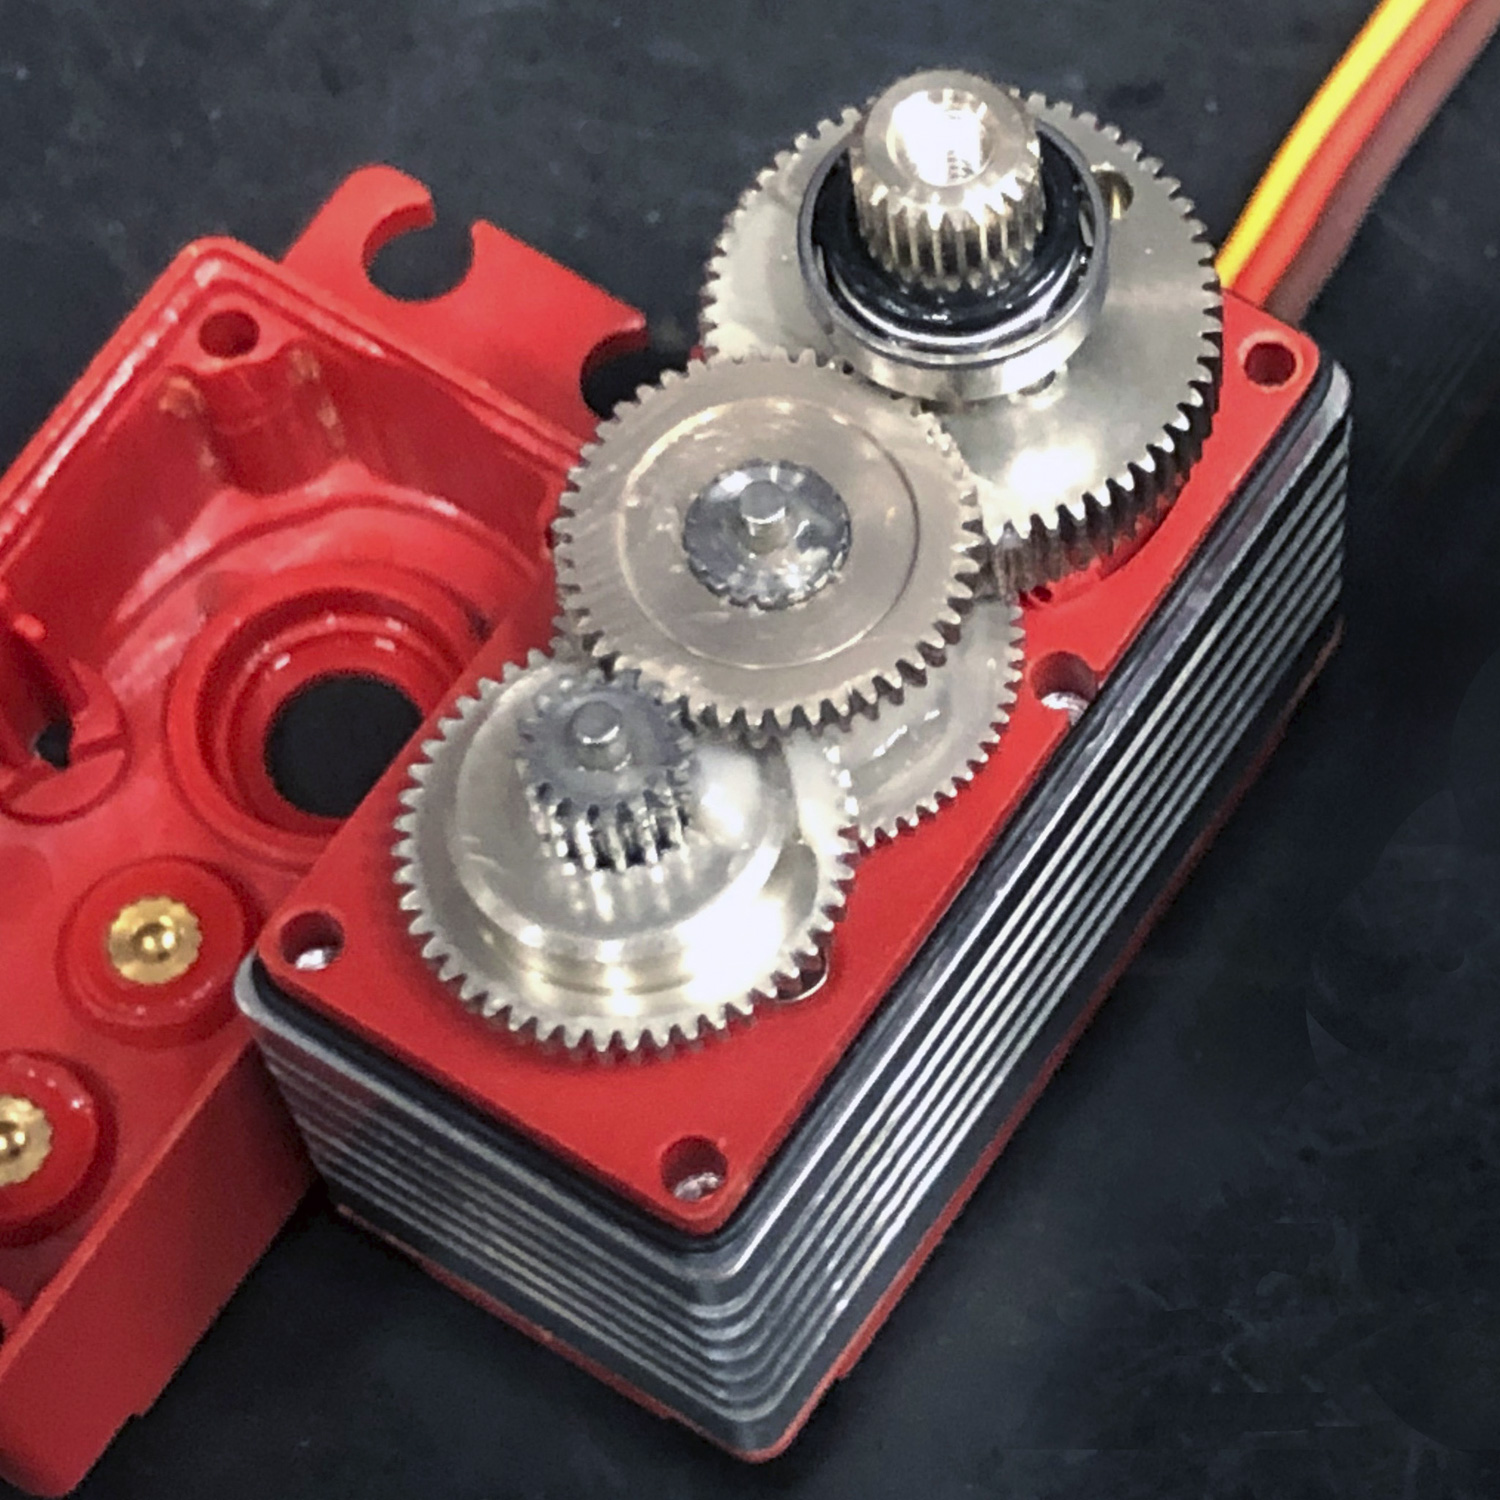
 
Similarly, flying an RC model helicopter requires demonstrating significantly superior manual dexterity than any other remote control application on the planet. In God's honest truth, flying a heli is a serious skill because you're never a natural, like the guy who picks up a bat and right from the start can knock out home runs because God gifted him the ability to hit curveballs.
 
With helis, you have to WORK at it to dominate the aircraft. Flying helis is almost like being good at chess and football at the same time because of the intellectual and physical demands required for flying. After all, unlike airplanes, its flight path can be either forward or backward, all whilst rolling, and flipping!
 
Bottom line? Those who master helicopters are never the ones who give up easily, or in the words of renown helicopter engine designer Don Chapman . . . it takes a hardhead!

A spot of bragging

Before circling back to tools, let me brag about the above servo. It's the ProModeler DS415BLHV. The code for ProModeler part numbers is easy to decipher.

  • DS = Digital Servo
  • 415 = torque rating in oz-in (about 30Kg-cm)
  • BL = Brushless motor (this link to learn more about RC servo motors)
  • HV = High Voltage (2S, or regulated to 8.4V)

And like all the ProModeler servos on the site, you get a 10-bolt case with o-rings to mitigate against case flex, the case has cooling fins machined into the aluminum, the electronics have potting compound (an aerospace process to mitigate against vibration). Major point being, you'll see different duty levels in the servos we offer, but zero differences in their quality. Nothing on Earth beats these. End of crass commercial.

Close up of the stainless steel gear train of a ProModeler DS415BLHV servo
- 415oz-in, a stunning 0.052sec/60° equals serious 'pop'

ProTote for going to the field:

Also, these tools are separate from another set of similar ones, a slimmed down subset, which I keep on hand for my ProTote when going to the flying field. Reason being, I'm experienced and know when jobs should be done in the shop versus at the field (where I don't need all tools). Exception being; whilst attending a fun fly when I 'do' bring the kitchen sink tool-wise since I'm far from the shop.
 
Anyway, molded in bright safety-yellow, this assembly goes together in minutes with just a few screws - no painting required. And because it's dishwasher safe, I run mine through a cycle at the end of the flying season to clean it up like brand new, again.
 
ProModeler ProTote pictured alongside a model of a Blackhawk helicopter
- ProTote for what you need on the flight line, fuel, starter, etc.

So which amongst all these tools will make it into 'your' tool caddy? Dunno, depends on you, but feel free to use the photo as a guide because I've probably forgotten to mention a few things!
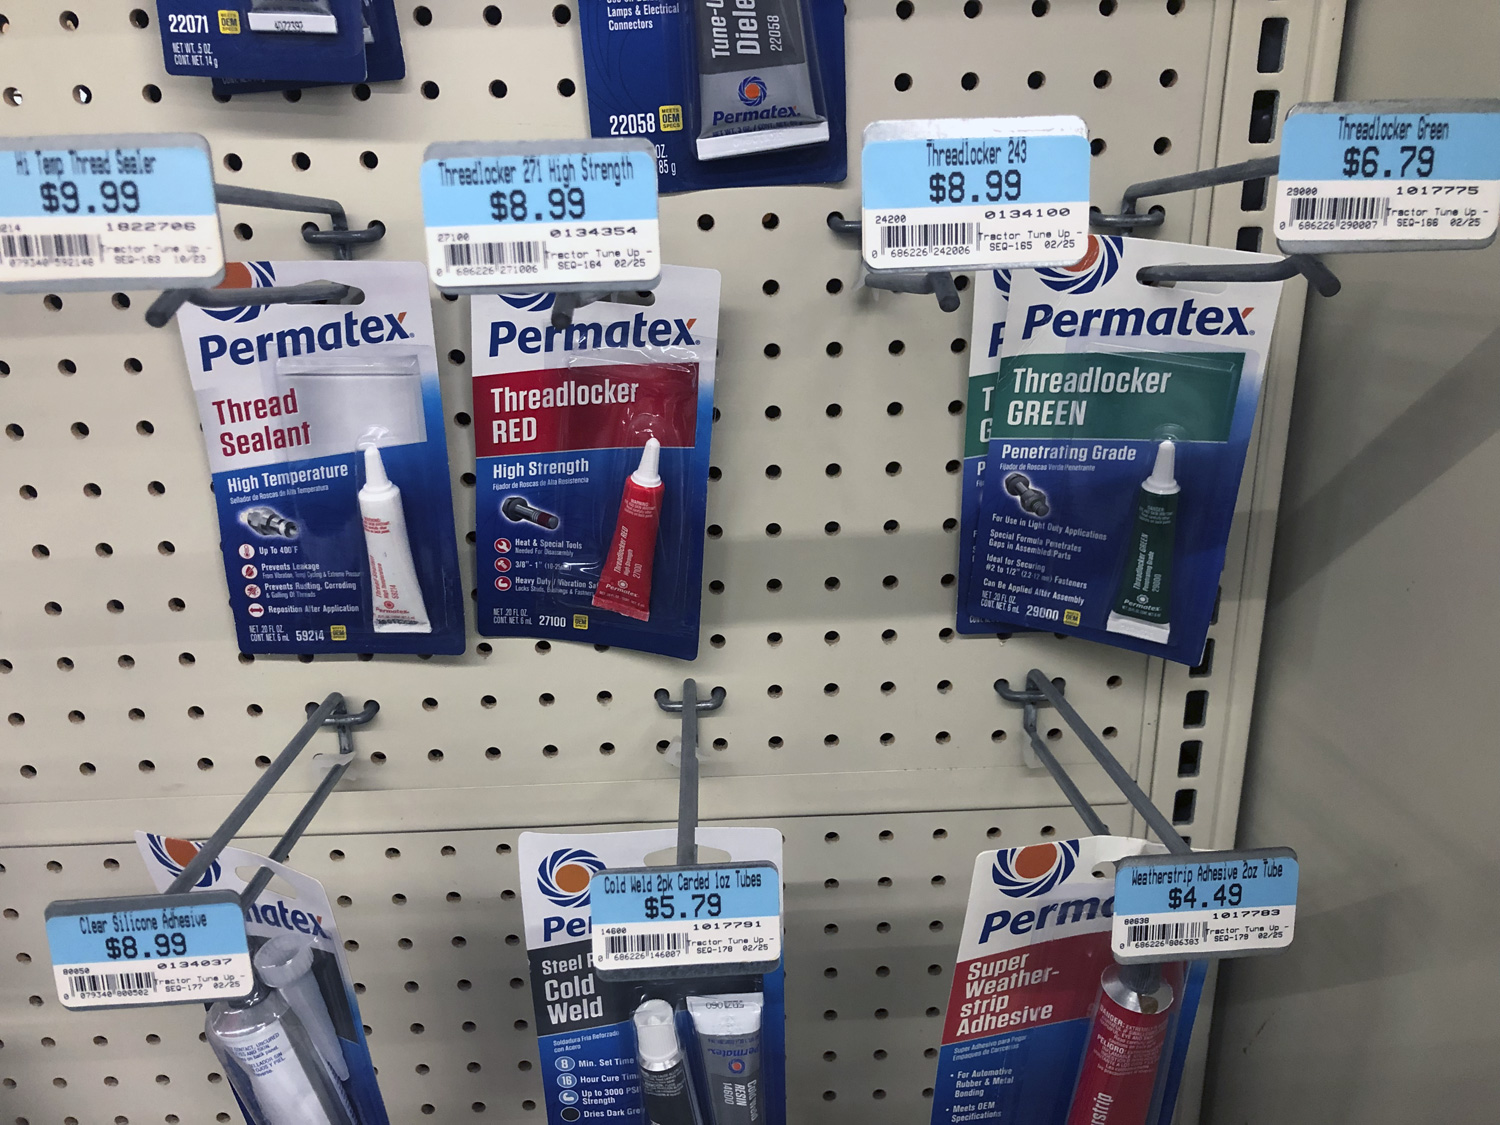
Thread locker

Wrapping this up, you'll also want various flavors of thread locker during your build. This, because depending on what you're doing, helicopter builds in general benefit from having the three commonly available blends on hand.
 
These include green, which wicks into already assembled parts. Blue, which is hands down the most commonly used before assembly. Then there's red, which is considered permanent, but really only needs some heat to soften and let go.
 
Photo of various threadlockers hanging on peghooks in a store display
- Stock up on red, blue, and green threadlockers